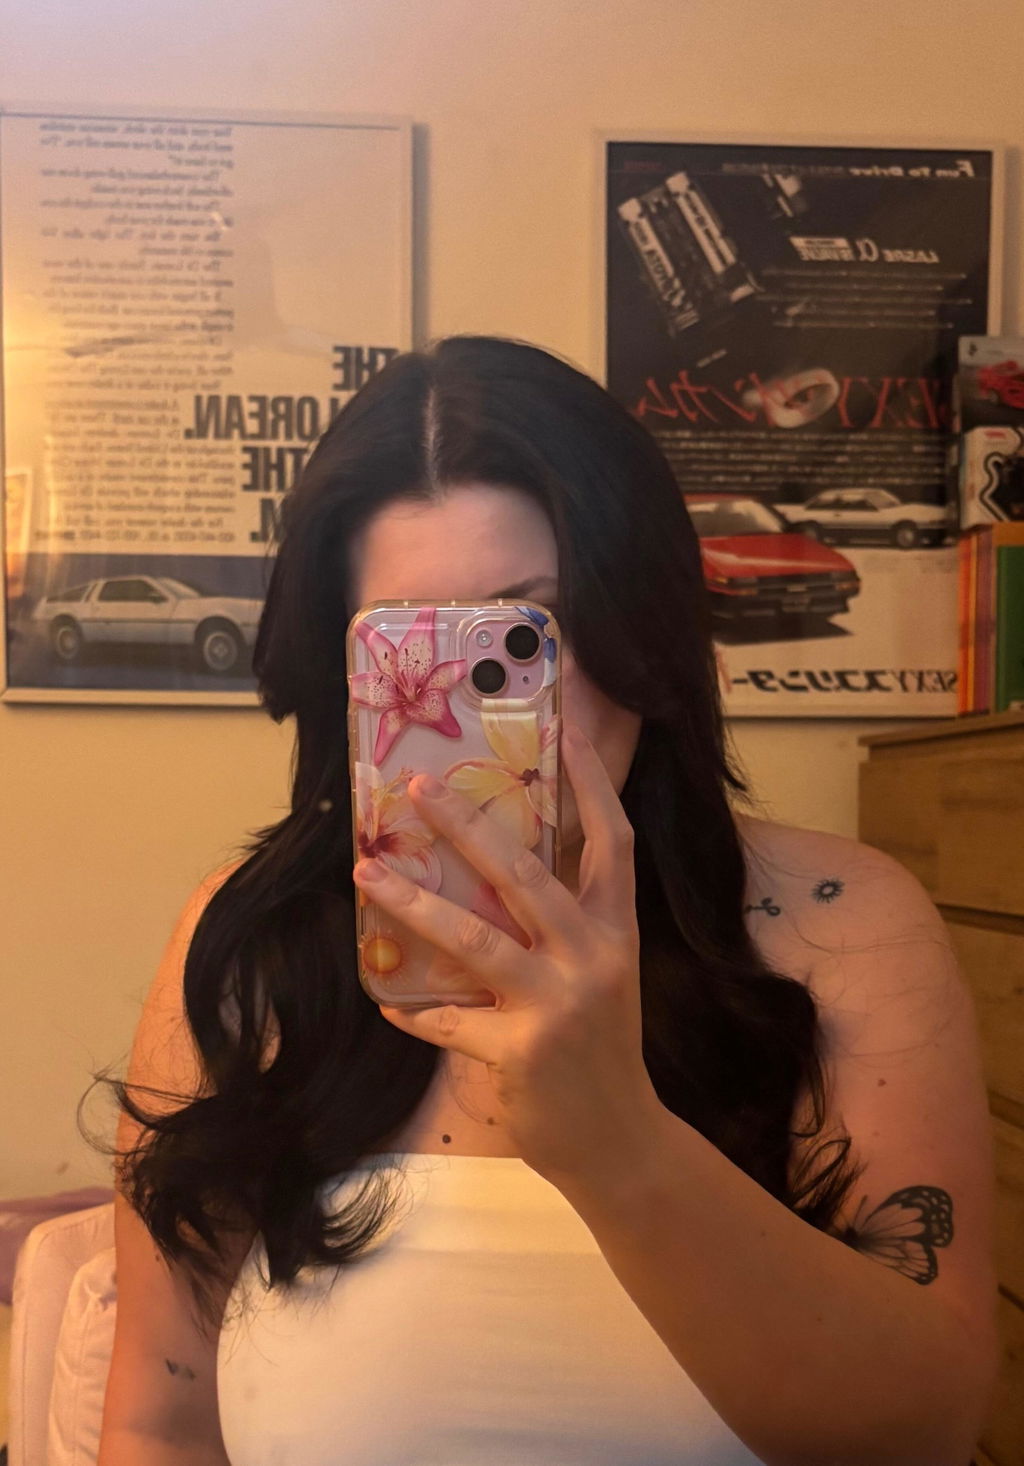

How to Apply Clip In Hair Extensions
If you've ever looked at clip-in hair extensions and thought, “They look amazing, but I could never put those in myself,” you're not alone. Many first-time users worry that the clips will show, the extensions won't blend properly, or worse, that the wefts will slip out during the day.
The reality is that learning how to apply clip in hair extensions is much easier than it seems. With the right sectioning technique, a little root grip and the correct placement, you can achieve longer, fuller-looking hair at home in just a few minutes.
Clip-ins are designed to be a temporary styling solution, making them ideal when you want to add length and volume for a special occasion, event or simply a different everyday look. The key is knowing where each weft belongs and how to secure it without putting unnecessary tension on your natural hair.
If you're ready to get started, explore Superior Hair's Classic Clip-In Hair Extensions collection to find a set suited to your desired length, colour and volume.
What You Need Before Applying Clip In Hair Extensions
Before you start, gather everything you'll need. Having your tools within reach makes the application process much easier and means you won't need to interrupt your sections halfway through.
For a straightforward at-home application, prepare:
-
Tail comb: Use the pointed end to create neat horizontal sections.
-
Paddle brush: Ideal for detangling your natural hair and blending the extensions afterwards.
-
Clip-in hair extensions: Your chosen wefts should already have the clips attached.
-
Sectioning clips: Keep the hair you're not working on securely out of the way.
-
Texture powder (optional): Useful for fine, silky or freshly washed hair that needs extra grip.
-
Light hairspray (optional): Can provide additional hold around the roots.
Make sure your natural hair is dry and gently brushed through before beginning. If your hair is extremely clean and slippery, applying a small amount of texture powder to the roots can make it easier for the clips to hold.
It's also worth laying your extension pieces out before you begin. Familiarising yourself with the different weft widths will help you understand which pieces are best suited to the nape, back, sides and crown.
How to Apply Clip In Hair Extensions Step by Step
The easiest way to learn how to put in clip in extensions is to work systematically from the bottom of your head upwards.
Sectioning your hair correctly
Begin at the nape of your neck. Using your tail comb, create a clean horizontal parting approximately 1cm above the bottom of your natural hairline.
Clip the rest of your hair up and away from the section you're working on.
Your first section should provide enough natural hair for the clips to grip securely, while still leaving enough hair underneath and above the weft to create a natural blend.
Once the first weft is attached, release another section approximately 1–1.5 inches above it. Continue creating horizontal sections as you move towards the crown.
Keep your sections relatively even. Uneven partings can make the extensions sit at different angles and may make the finished hairstyle look less natural.
Attaching the wefts and clips
Once your section is created, gently backcomb the roots where the clips will sit.
Open all the clips on your chosen weft. Position the weft close to the roots, but don't press it directly against your scalp.
Start by securing the middle clip. Press it into the backcombed section and snap it shut.
Then secure the clips on either side, working from the centre outward. This helps keep the weft straight and evenly positioned.
Once all clips are closed, gently tug the weft to check that it feels secure. It shouldn't slide when you move your head, but it also shouldn't feel painfully tight.
If it slips, remove the weft and create a little more root texture before trying again.
Blending extensions with your natural hair
Once the weft is secure, release the layer of natural hair you've clipped away.
Brush this hair gently over the top of the extension. The natural layer should completely conceal the clips and create a smooth transition between your hair and the extension.
Repeat this process for every weft.
For the most seamless result, style your natural hair and extensions together. Loose waves or curls are particularly effective for blending because they help merge the different layers.
If you prefer straight hair, use a paddle brush and a suitable styling tool to create a smooth finish. Always use heat protection when applying heat to human hair extensions.
Clip In Hair Extension Placement Guide
Knowing clip in hair extension placement can make the difference between extensions that look professionally installed and extensions where the clips are obvious.
Rather than attaching every piece wherever it seems to fit, think of your head as a series of zones. Larger wefts provide coverage and volume through the back, while smaller pieces are better suited to the sides and areas closer to the face.
Correct placement also helps distribute the weight of the extensions and gives each clip enough natural hair to grip.
Where to start: nape placement
The nape is your starting point.
Create your first horizontal section approximately 1cm below your natural parting line and attach your largest weft here.
The largest weft provides a strong foundation for the rest of the set and adds substantial length and volume through the lower section of your hair.
Before attaching it, gently backcomb the roots where the clips will sit. Secure the middle clip first before fastening the clips on either side.
Make sure the weft sits horizontally and comfortably against your head.
Avoid placing it too close to the bottom of your hairline. There needs to be enough natural hair beneath the weft to help support the clips.
Working upward: mid and crown placement
After securing the first weft, move approximately 1–1.5 inches upward and create your next section.
Continue working upwards through the back of your head, choosing weft sizes according to the amount of coverage needed.
A useful general placement pattern is:
-
Nape: Largest weft
-
Lower back: Large weft
-
Mid-back: Medium or large weft
-
Upper back: Medium weft
-
Sides: Smaller wefts
-
Face-framing areas: Smallest wefts
The exact arrangement can vary according to your natural hair density and the look you're trying to create.
As you approach the crown, don't place the extensions too high. Leaving enough natural hair above the highest weft allows your own hair to fall naturally over the clips.
Placing a weft too close to the crown can make the attachment visible, particularly when you move your hair or wear it in different styles.
Side and hairline placement
The sides of your head generally require smaller wefts because there is less space between the ears, temples and crown.
Use the smallest pieces around the sides and above the ears.
Be especially careful around the hairline. Hair in this area is often finer and has less density, so attaching a heavy weft here can cause unnecessary tension.
Instead, position smaller wefts slightly further back, where there is enough natural hair to support the clips.
Always leave sufficient natural hair over the top of each piece to hide the attachment.
How to Wash Clip In Hair Extensions at Home
Knowing how to wash clip in hair extensions at home correctly is an important part of maintaining their appearance and extending their usable life.
Unlike permanent extensions, clip-ins don't need to be washed every time you wear them. In fact, washing them unnecessarily can cause the human hair to become dry over time.
A good general approach is to wash them around every 15–20 wears, depending on how often you use styling products and how the hair looks and feels.
If you've used a lot of hairspray, oils or other styling products, you may need to wash them sooner.
How often should you wash clip in hair extensions?
The right frequency depends on your lifestyle and how frequently you wear your extensions.
If you only wear them occasionally, you may not need to wash them after every few uses. If you wear them regularly, monitor the hair for product buildup, tangling or a change in texture.
As a general guide, washing every 15–20 wears is a reasonable starting point.
Remember that removing your clip-ins before sleeping, showering, swimming and exercising can significantly reduce the amount of cleaning they require.
Step-by-step washing method
Start by removing all the wefts from your hair and placing them on a clean surface.
Step 1: Detangle
Use a paddle brush to gently remove tangles, starting at the ends and gradually working towards the top.
Step 2: Wet the hair
Use cool or lukewarm water. Avoid very hot water, which can be unnecessarily drying.
Step 3: Shampoo
Apply a gentle, sulphate-free shampoo. Wash the extensions in a downward direction rather than scrubbing them in circles.
Keep the hair moving in one direction to minimise tangling.
Step 4: Condition
Apply conditioner through the mid-lengths and ends. Avoid applying heavy amounts directly around the clips.
Step 5: Rinse
Rinse thoroughly using cool or lukewarm water.
Step 6: Dry
Gently squeeze out excess water. Don't twist or aggressively rub the extensions with a towel.
Allow them to air-dry flat or hang them carefully until completely dry.
Avoid brushing the extensions aggressively while they're wet, as wet human hair is more vulnerable to stretching and breakage.
Common Mistakes to Avoid When Applying Clip Ins
High-quality human hair extensions are an investment. Taking a few extra minutes to apply and care for them properly can help preserve their softness, appearance and longevity.
Placing clips too high or too close to the hairline
Putting a weft too close to the crown or hairline is one of the most common beginner mistakes.
There may not be enough natural hair to conceal the clips, making them visible through the top layer.
It can also place additional tension on finer sections of hair.
Keep larger wefts lower on the head and use smaller pieces as you move towards the sides and face.
Skipping the backcomb or grip step
Fine or freshly washed hair can be extremely smooth, making it difficult for clips to stay firmly in place.
Skipping the grip step can result in wefts slipping throughout the day.
A few gentle strokes of backcombing at the roots can provide enough texture for the clips to hold.
If your hair is particularly fine, a small amount of texture powder can also help.
Don't aggressively tease your hair. The goal is simply to create a slightly textured surface for the clips.
Washing too often or with the wrong products
Your extensions don't receive natural oils from your scalp in the same way your own hair does, which means they can become dry if they're washed too frequently.
Avoid washing after every wear unless the hair genuinely needs it.
Choose a sulphate-free shampoo and a moisturising conditioner, and avoid excessive use of high-heat styling tools.
Harsh products and frequent heat styling can reduce the lifespan of human hair extensions and leave them looking dry or dull.
Ready to Try Clip In Hair Extensions?
Now that you know how to apply clip in hair extensions, you're ready to create longer, fuller-looking hair at home.
The secret to a seamless result isn't complicated. Start at the nape, create clean sections, backcomb where needed, secure the middle clip first and gradually work upwards. Finish by allowing your natural hair to cover the wefts and style everything together.
Ready to find your perfect set?
Shop Superior Hair's Classic Clip-In Hair Extensions for a traditional clip-in design that makes it easy to add instant length and volume.
Prefer an even flatter, more discreet finish? Explore the Seamless Clip-In Hair Extensions collection for a sleek alternative designed to sit closer to the head.
Whichever style you choose, the right application technique will help you achieve a comfortable, secure and natural-looking result.
Frequently Asked Questions
How long does it take to put in clip in hair extensions?
Once you've mastered the technique, applying a full set of clip-in extensions typically takes around 5–10 minutes.
Your first few applications may take longer as you learn how to section your hair and identify where each weft should sit. With practice, the process becomes quick and straightforward.
Do clip in hair extensions damage your hair?
Clip-in extensions are designed to be temporary and can be worn without damaging your natural hair when they are applied and removed correctly.
The key is to avoid attaching heavy wefts to very thin sections of hair and to make sure the clips aren't excessively tight.
Never pull the extensions out. Open each clip individually before gently removing the weft.
If an extension feels painful or causes persistent tension, remove it and adjust the placement.
Can you sleep in clip in hair extensions?
It's best not to sleep in clip-in hair extensions.
As you move during sleep, the extensions can rub against your natural hair, causing tangling and unnecessary tension. The clips may also press against your scalp.
Always remove your clip-ins before bed and store them safely until you're ready to wear them again.
How many clips do you need for a full head?
The number of clips required depends on your natural hair's thickness, length and the amount of volume you want.
A typical full-head clip-in set contains multiple wefts of different widths, with larger pieces for the back and smaller pieces for the sides and face-framing areas.
For medium-density hair, a complete set is generally sufficient for a full-head transformation. Very thick hair may require additional hair to achieve a seamless blend, while very fine hair may need fewer pieces.
Can clip in hair extensions be curled or straightened?
Yes. Human hair clip-in extensions can generally be curled or straightened using suitable heat-styling tools.
Always apply a heat protectant first and avoid excessive heat. Remember that extensions don't receive natural oils from the scalp, so repeated high-temperature styling can cause them to become dry more quickly.
For more styling tips, read Superior Hair's guide to curling hair extensions.
Related articles
Want to learn more about choosing, applying and styling your extensions? Explore these related resources:
-
Classic clip-in hair extensions collection — Explore clip-in sets in different lengths, colours and weights.
-
Halo hair extensions — Discover another easy temporary extension option.
-
Hair extensions fix-it guide — Get practical advice for common extension problems and care concerns.